If you have been keeping up with my pre-moving shopping spree, then you noticed the gorgeous gem of a dresser that we found at a garage sale recently. We found it with a really nice warm medium-brown finish that we initially intended to preserve. However, upon closer inspection, we realized that the stain wasn't in very good condition. There were several nicks and marks from many years of wear and tear. While I was sad to see what I think was the original finish go, this gave us an opportunity to have some fun with it!
Our first step was to sand off the existing stain to prep the piece for paint. We ended up taking the delicate legs off for this process and using a belt sander over the body of the dresser. After sanding the piece, we discussed what we wanted to do with it! James and I agreed that we wanted to try painting the dresser in a deep green color. We also liked the idea of staining the top surface to create some cool contrast.
Our first step was to sand off the existing stain to prep the piece for paint. We ended up taking the delicate legs off for this process and using a belt sander over the body of the dresser. After sanding the piece, we discussed what we wanted to do with it! James and I agreed that we wanted to try painting the dresser in a deep green color. We also liked the idea of staining the top surface to create some cool contrast.
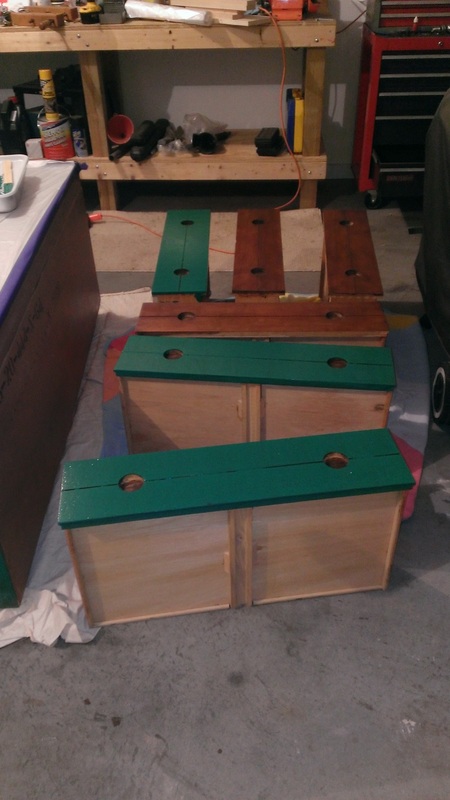
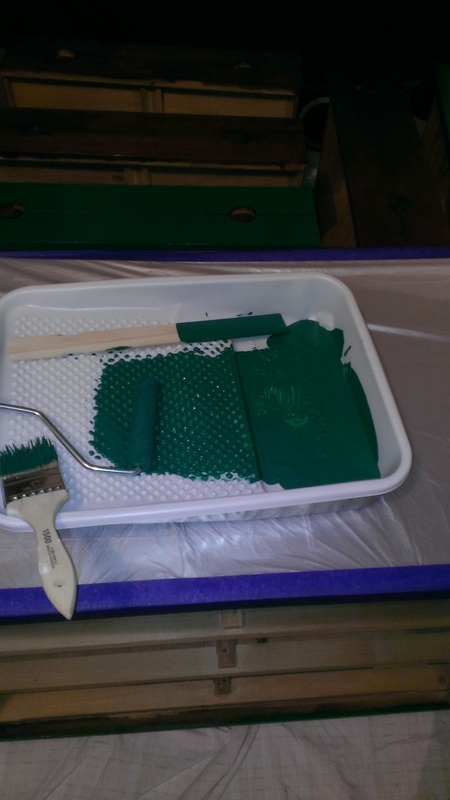
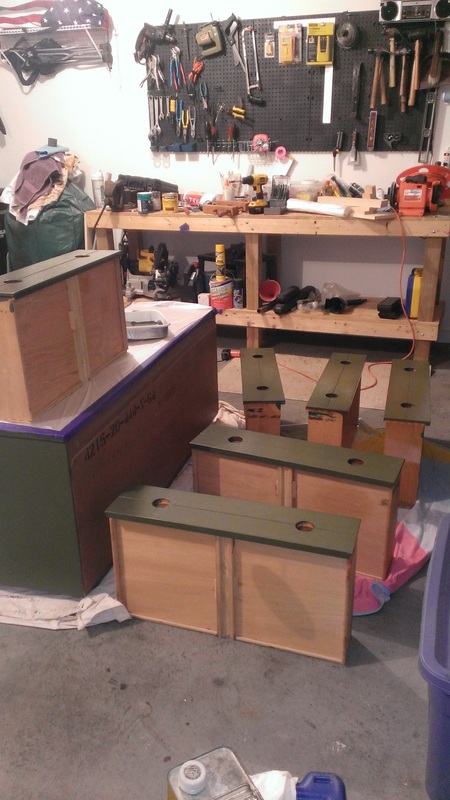
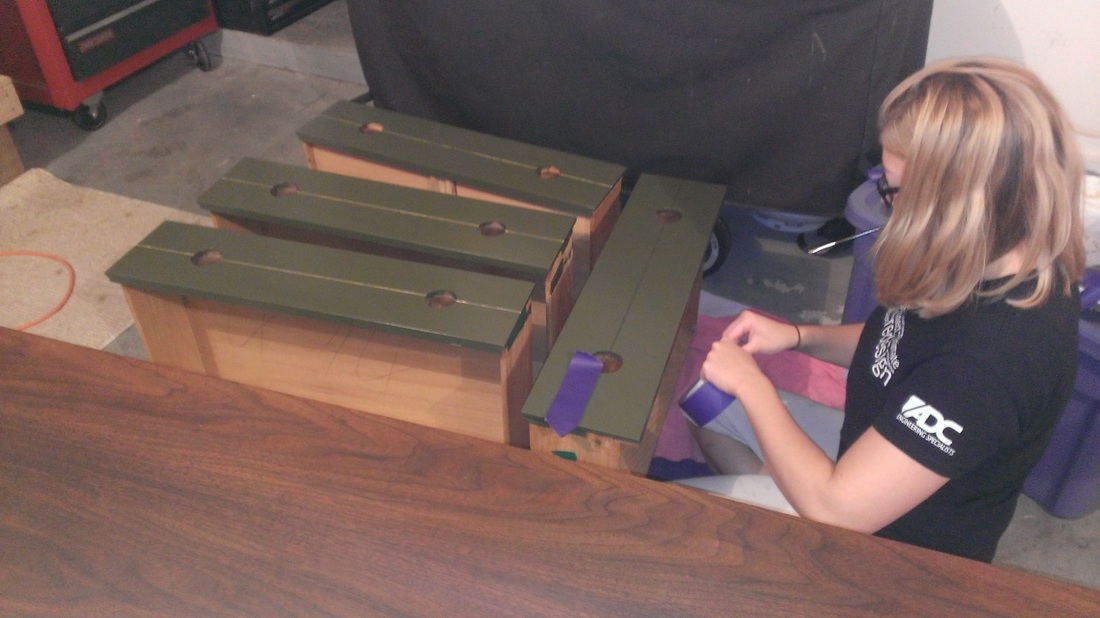
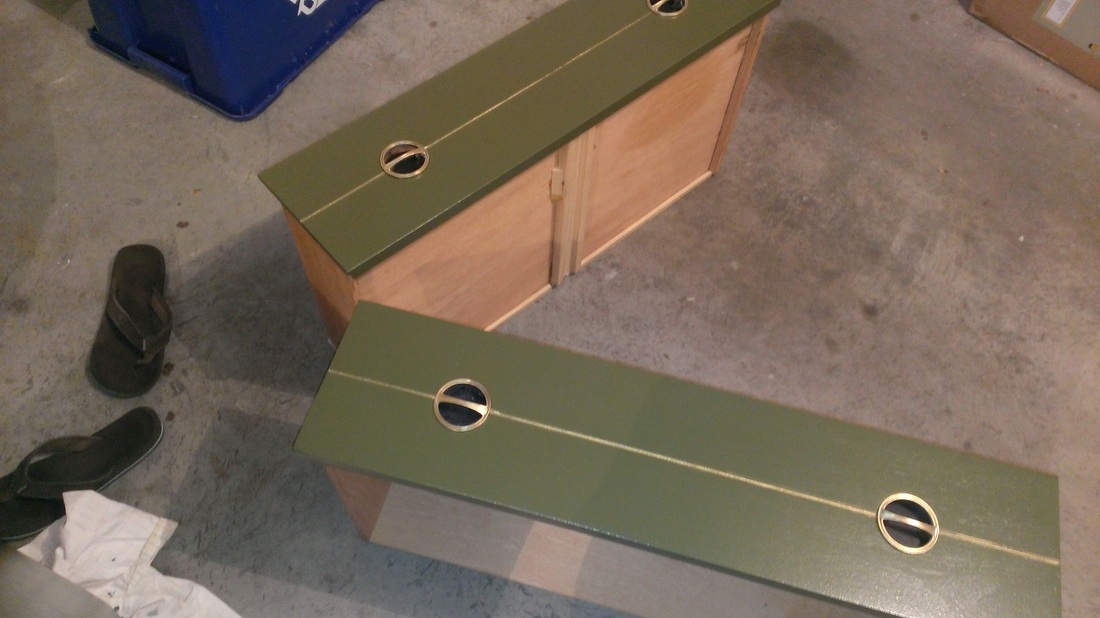
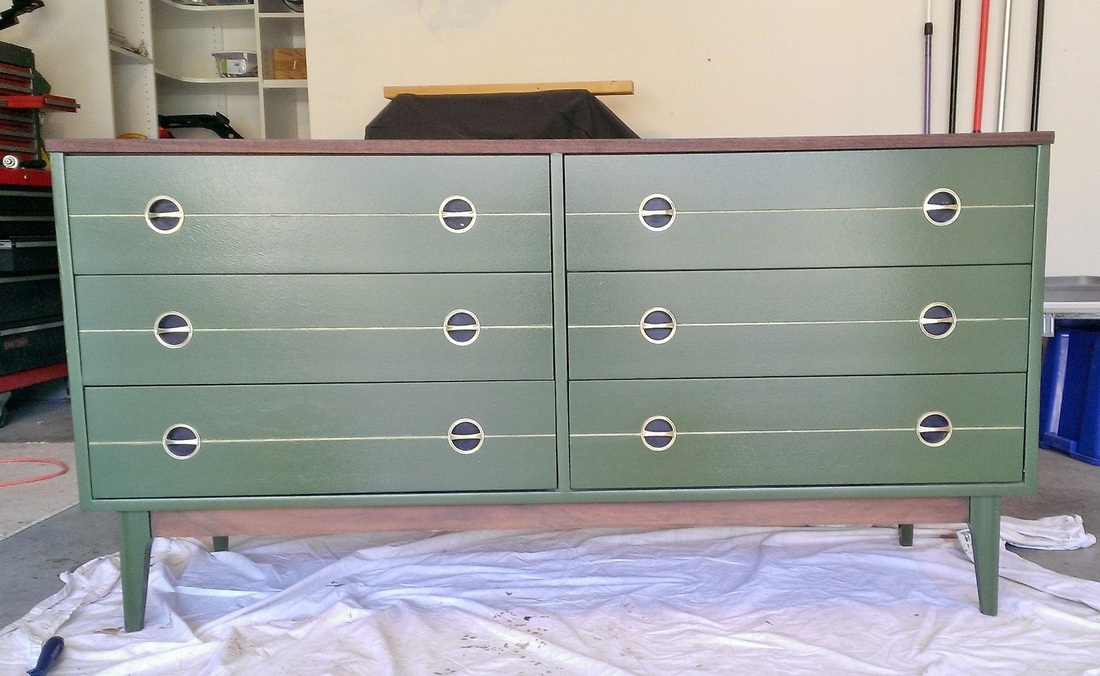
After making the TERRIBLE decision to use an emerald green paint color (see the first image above.... ewww), we went for a soft hunter green. We completed the project by pulling out all of the drawers (and labeling where they went- drawers are not universal on a handmade piece) and painting them individually. We taped off the top (since we were staining it) and painted the body of the piece. We ended up spontaneously deciding to stain the bottom trim piece that runs between the legs as well, so we taped it off as well.
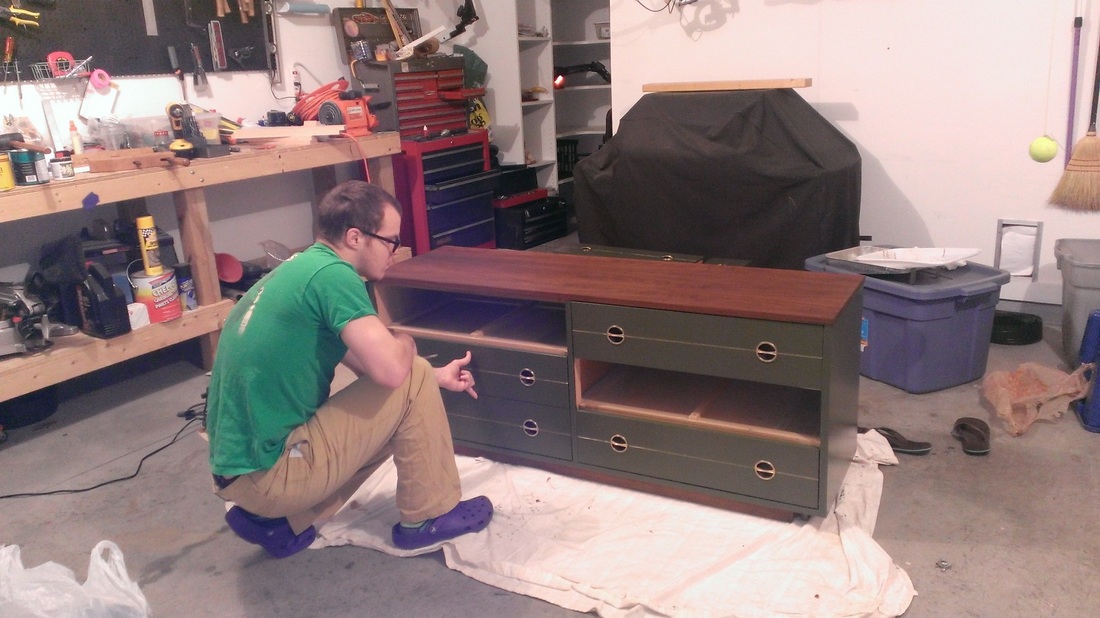
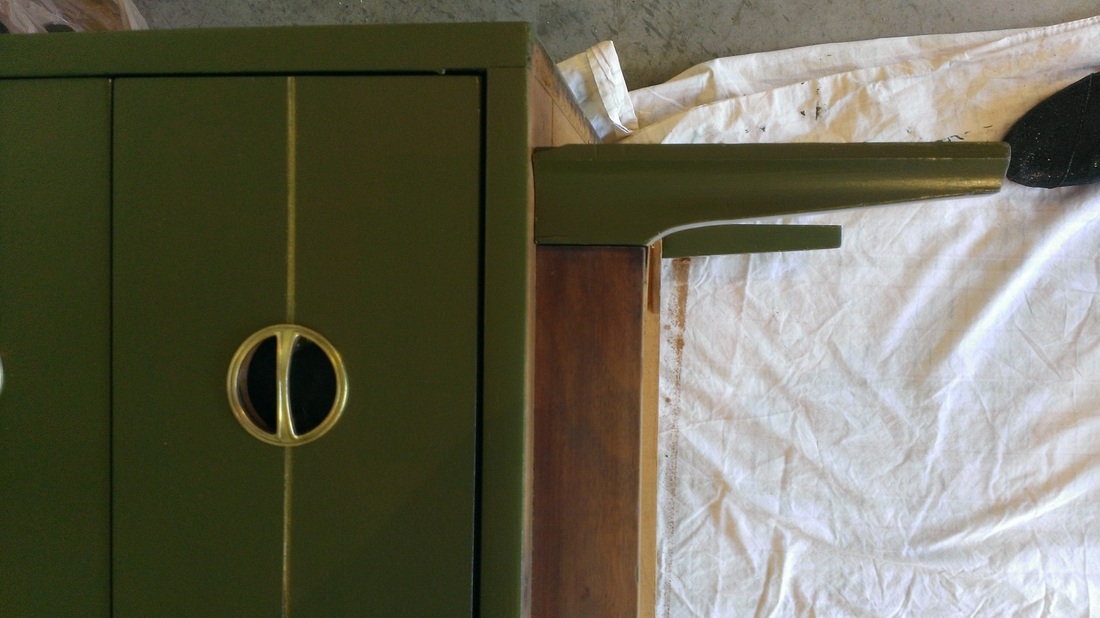
After two coats of paint (which was an exterior semi-gloss by Glidden, for durability purposes) we trimmed out the carved line details on each drawer with gold paint for an added pop (we used Martha Stuart's Precious Metals paint for this). We also took some elbow grease and Brasso to the gorgeous hardware. We then stained the top with two coats of a medium walnut stain, followed by a clear poly acrylic finish to protect the wood.
After two coats of paint (which was an exterior semi-gloss by Glidden, for durability purposes) we trimmed out the carved line details on each drawer with gold paint for an added pop (we used Martha Stuart's Precious Metals paint for this). We also took some elbow grease and Brasso to the gorgeous hardware. We then stained the top with two coats of a medium walnut stain, followed by a clear poly acrylic finish to protect the wood.
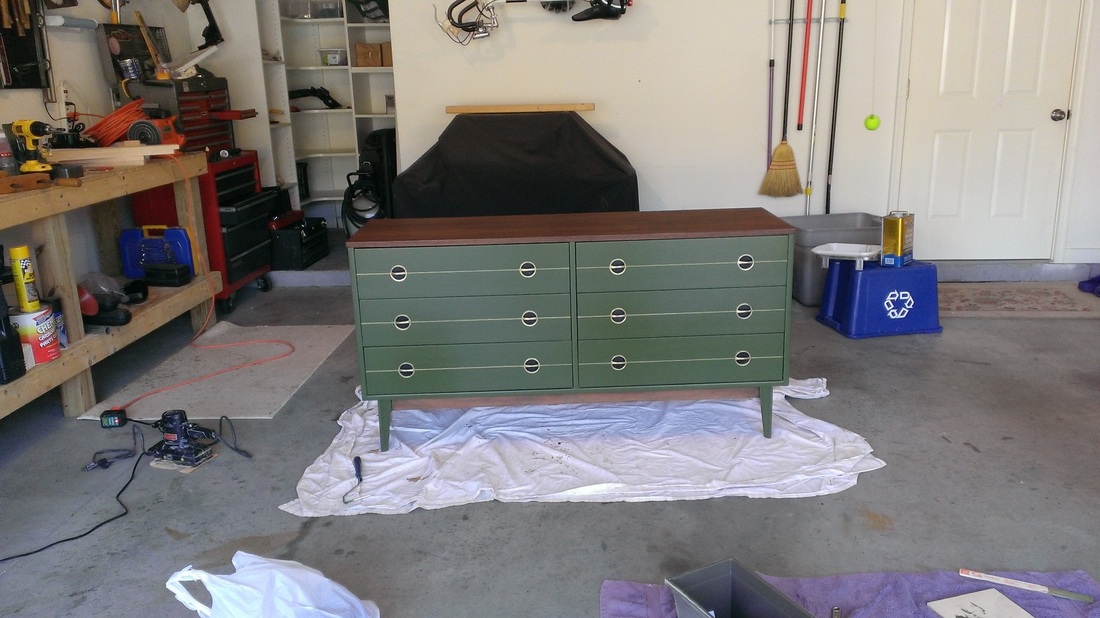
James and I are just thrilled with how this piece came out! I must say, we are pretty proud of our efforts. This helped us prove to ourselves that we are capable of refinishing furniture, which got us thinking about what we can work on next! So, what do you think?
xoxo J
xoxo J


 RSS Feed