James and I are coming into our new home with very little. Most of our furniture is cheap Ikea stuff that we don't want to bring into our beautiful new place. Of course, since we definitely not made of money AND now have the responsibility of a mortgage, we can't just go out and buy all new designer furniture (wouldn't that be awesome?!).
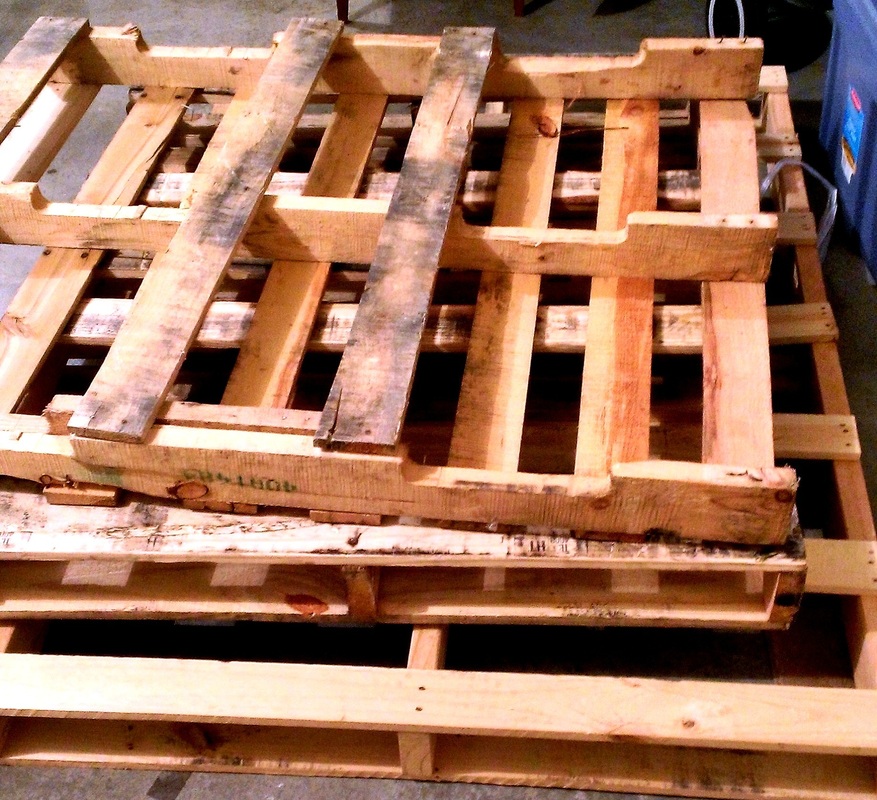
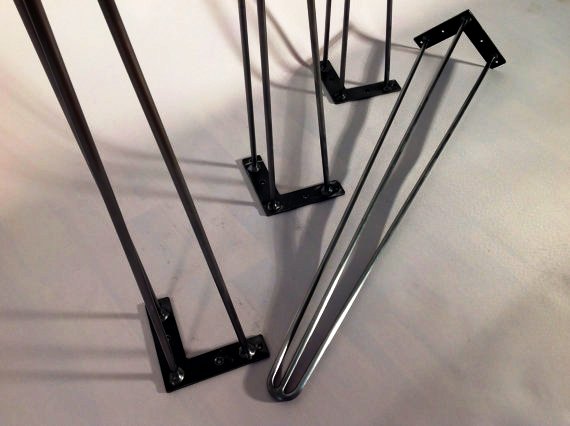
But, no need to worry! You don't have to go buy designer pieces to make your home stylish! We live in the age of consumerism, but we are capable of building our own pieces without having a degree in woodworking. So, James and I decided to try our hand at building a coffee table. We initially began by collecting pallet wood, but found that the pallets we got were old and brittle. As we tried to pull them apart, they would splinter and break into small shards. So, on to plan B! We grabbed some oak 2x4 lumber and plywood at Home Depot and I drew up plans for the table. We also scored some awesome 3-pin hairpin legs from Etsy.
But, no need to worry! You don't have to go buy designer pieces to make your home stylish! We live in the age of consumerism, but we are capable of building our own pieces without having a degree in woodworking. So, James and I decided to try our hand at building a coffee table. We initially began by collecting pallet wood, but found that the pallets we got were old and brittle. As we tried to pull them apart, they would splinter and break into small shards. So, on to plan B! We grabbed some oak 2x4 lumber and plywood at Home Depot and I drew up plans for the table. We also scored some awesome 3-pin hairpin legs from Etsy.

The process was really quite simple. It just required patience and the right tools. Check out my steps for creating a coffee table, listed below the following photos!
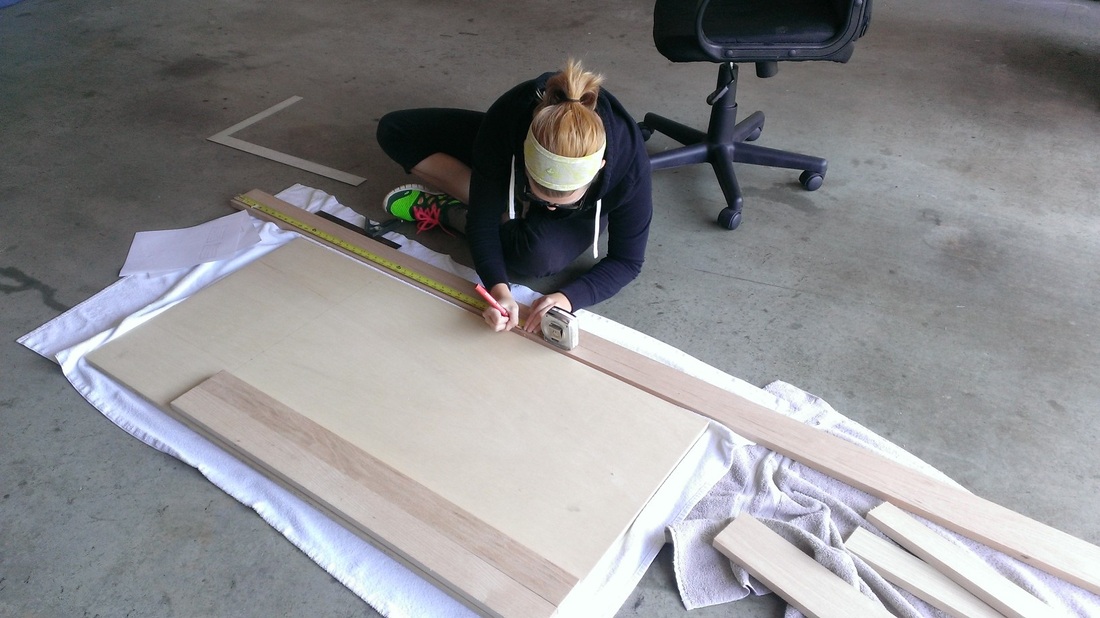
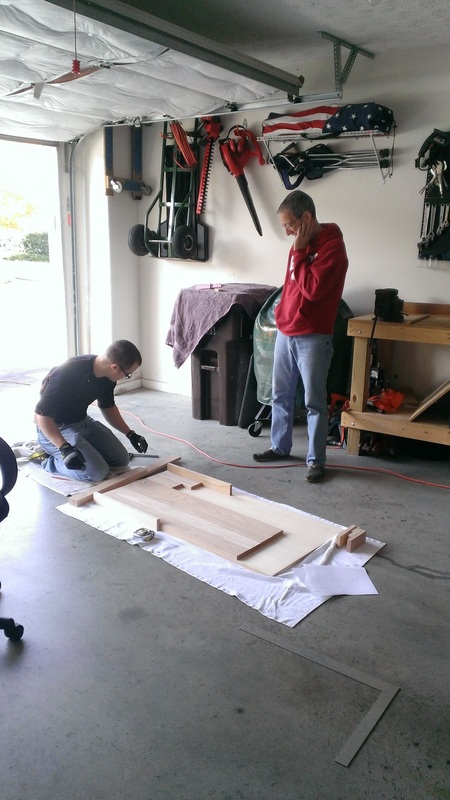
1- Measure & cut a piece of plywood to the appropriate size (this will become the table base)
2- Measure & cut 4 pieces of wood to become the outer frame of the table (we chose to create the frame out of 2x4s so that they will hang down over the plywood, concealing the underside and finishing the edges of the table)
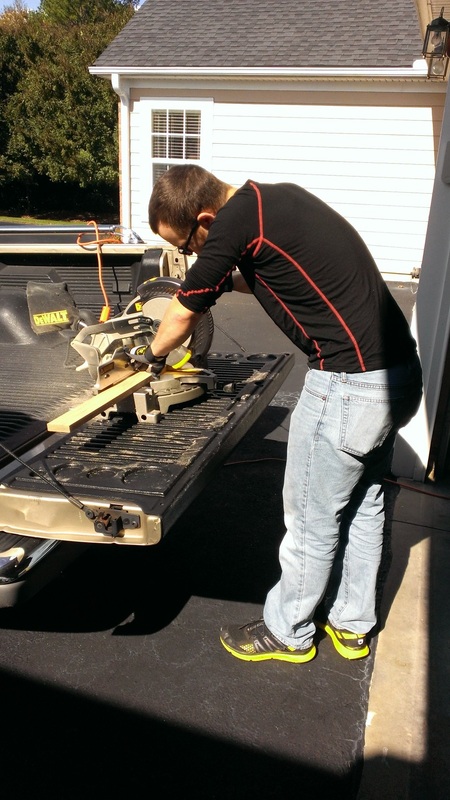
3- Measure & cut 6 pieces of wood to become the planks of the table top
4- Lay the 6 planks on the ground (being careful to squeeze them as tightly together as possible, we did this using clamps)
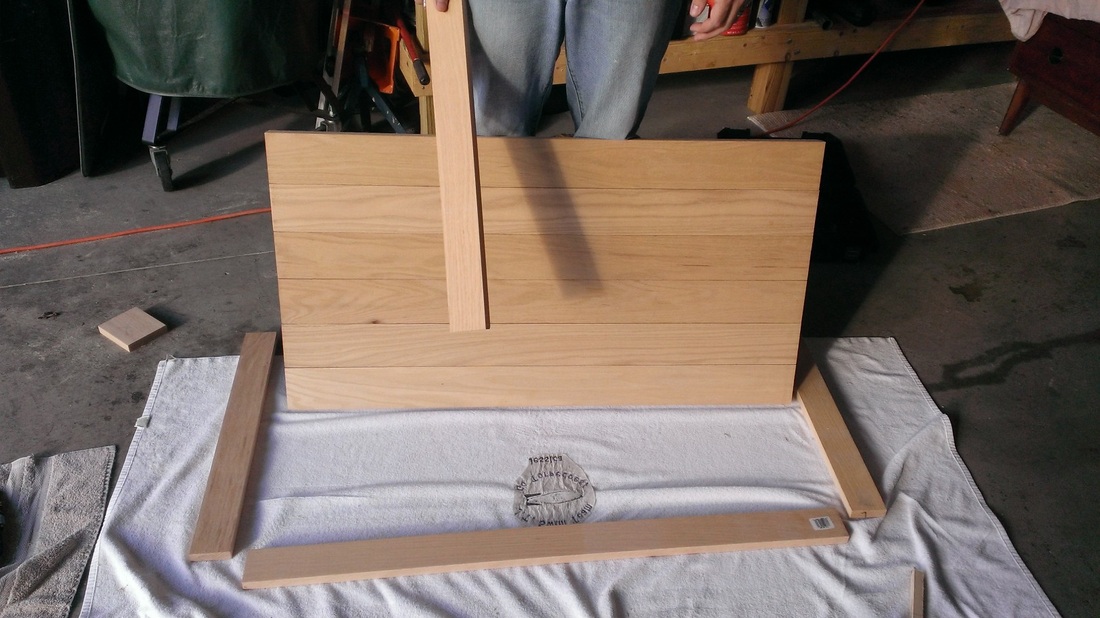
5- Lay the plywood on top of the planks
6- Screw the plywood to the planks of wood (this is done from the bottom so the screws will not be visible from the top of the table)
7- Attach the 4 pieces of wood around the edges of the table by lining them up, putting a little wood glue on the inside, and screwing them on
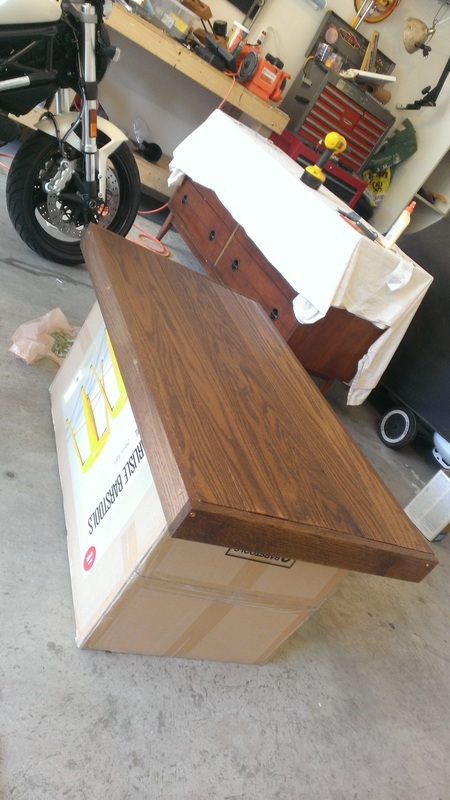
8- Flip the table top over (and admire it!)
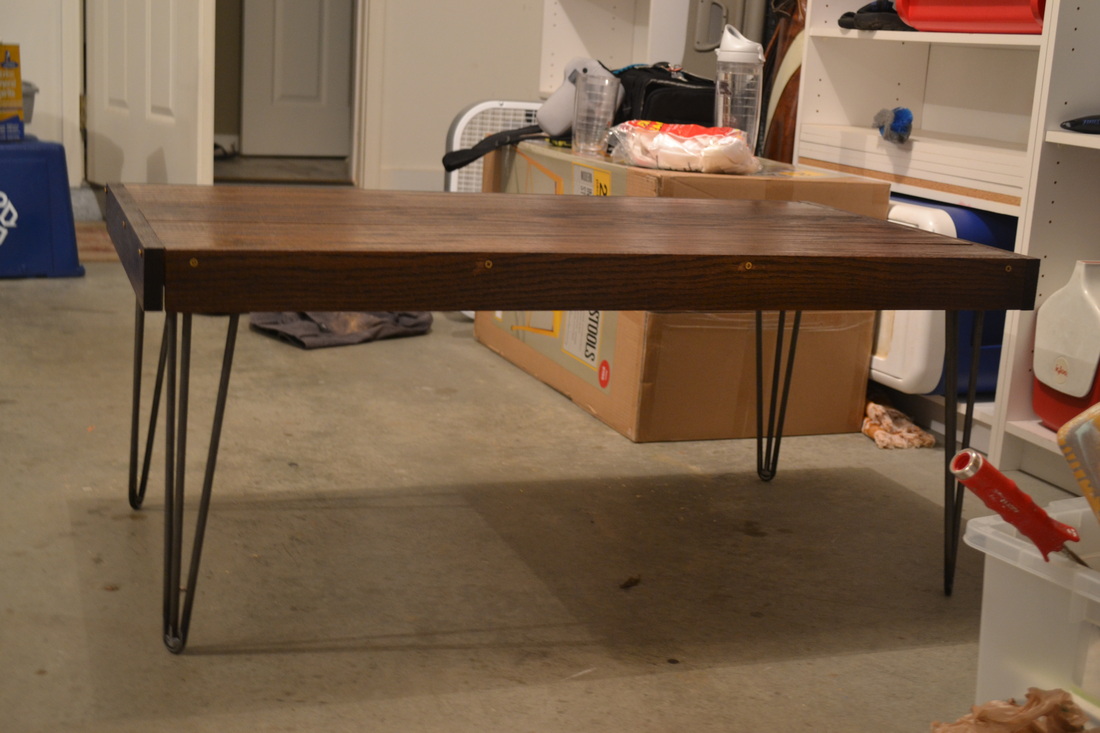
9- Flip the table back over (I know, I know, its heavy) and attach the hairpin legs at each corner
10- Apply two coats of the stain of your choice to the table, letting it dry in between each coat, then seal the table with polyacrylic
11- Done! Time to admire your work!!
I hope you try your hand at creating furniture! It is very rewarding and budget friendly!!
xoxo J
2- Measure & cut 4 pieces of wood to become the outer frame of the table (we chose to create the frame out of 2x4s so that they will hang down over the plywood, concealing the underside and finishing the edges of the table)
3- Measure & cut 6 pieces of wood to become the planks of the table top
4- Lay the 6 planks on the ground (being careful to squeeze them as tightly together as possible, we did this using clamps)
5- Lay the plywood on top of the planks
6- Screw the plywood to the planks of wood (this is done from the bottom so the screws will not be visible from the top of the table)
7- Attach the 4 pieces of wood around the edges of the table by lining them up, putting a little wood glue on the inside, and screwing them on
8- Flip the table top over (and admire it!)
9- Flip the table back over (I know, I know, its heavy) and attach the hairpin legs at each corner
10- Apply two coats of the stain of your choice to the table, letting it dry in between each coat, then seal the table with polyacrylic
11- Done! Time to admire your work!!
I hope you try your hand at creating furniture! It is very rewarding and budget friendly!!
xoxo J

 RSS Feed